
CBSE Class 11 chemistry · basic laboratory techniques · Basic laboratory techniques
Source: CBSE Class 11 chemistry practical syllabus · use your school laboratory manual (NCERT Lab Manual where your school uses it).
Cutting a glass tube (Class 11 chemistry practical)
You learn to cut soda-glass tubing to length and remove sharp edges by fire-polishing.
Tube diameter and length come from your laboratory manual — not from this page.
Published practice page. Concentrations, masses, and numerical answers come from your school laboratory manual and your own readings — not invented here. Not yet reviewed by a named chemistry reviewer. Version 1.0.0, updated 2026-10-03.
Safety — read before you start
Safety warning. Practise here. Perform the real experiment only in your school lab, with your teacher present.
- Sharp glass edges cut skin.
- Open flame — burns.
- Hot glass looks cold.
Wear: Lab coat, Splash goggles, Gloves, as your teacher directs.
Follow your teacher’s disposal instructions. Do not pour leftovers down a household drain.
Loads only after you tap. Use the lab hands to pick up and use equipment (pointer hidden in the scene). Falls back to a flat diagram if WebGL is unavailable.
Aim
To cut a soda-glass tube to the length required by your laboratory manual and fire-polish the ends so they are smooth and safe to use.
Methods and quantities can differ between schools. Follow your teacher's instructions.
Apparatus and chemicals
| Item | Note |
|---|---|
| Soda-glass tube | Diameter and length as per your manual. |
| Triangular file or glass cutter | For a single clean score line. |
| Bunsen burner | For fire-polishing cut ends. |
| Glazed tile or heat-safe surface | To cool polished ends. |
| Small piece of cloth or paper | To hold the tube while snapping, if your teacher directs. |
| Soda-lime glass tube (soda-lime glass) | Soft glass used in school laboratories; handle broken edges with care. |
Theory and reaction
Open
Glass is brittle. A deep score concentrates stress so a clean snap is possible if you break away from the score as your teacher shows.
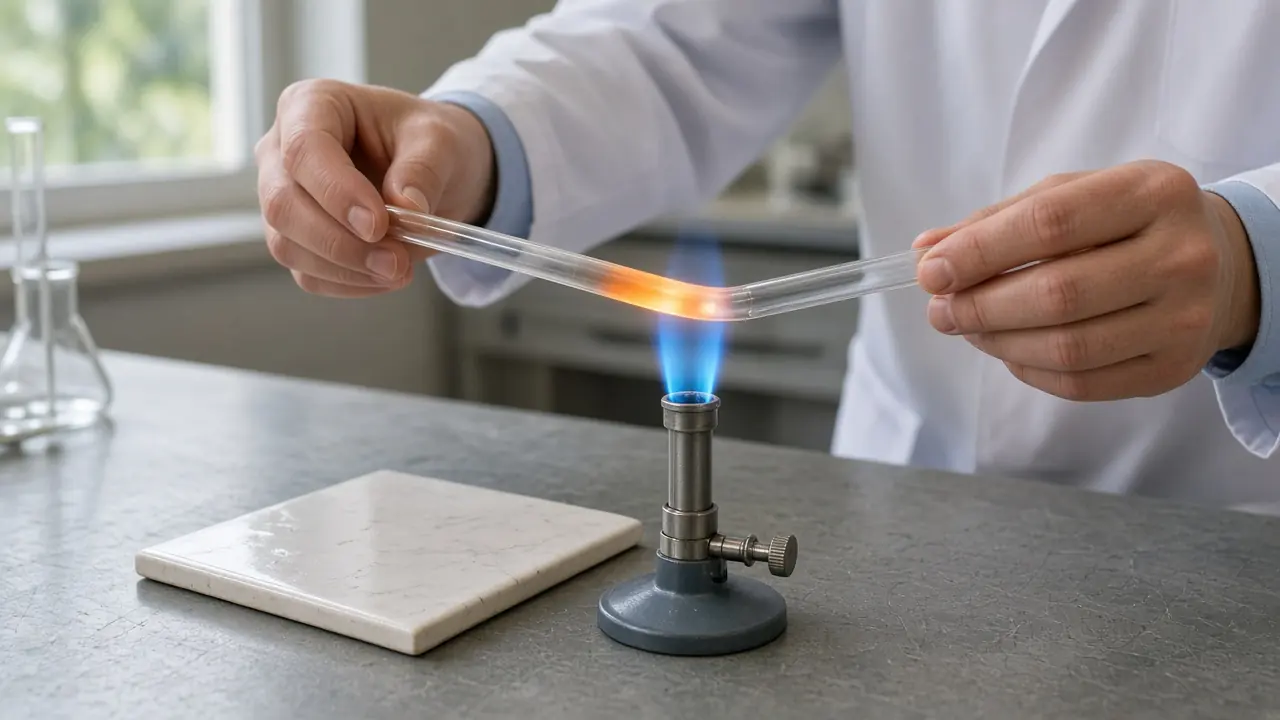
Freshly cut ends are sharp and can cut cork or skin. Brief heating in a Bunsen flame rounds the rim (fire-polishing) without closing the bore if done correctly.
Over-heating the end can seal the tube or make the wall bulge. Rotate the end in the flame for even softening.
No chemical equation. Physical cutting and fire-polishing only.
Picture guide
Procedure
- Measure and mark the length your manual asks for with a pencil or chalk mark on the tube.
- Place the tube on a flat bench. Draw the file or cutter once firmly across the mark to make a single continuous score — not a sawing motion.Safety: Keep fingers away from the score line when you snap.
- Hold the tube with the score facing up. Snap by bending gently outward on both sides of the score, as your teacher demonstrates.
- Inspect the cut. If the edge is jagged, ask your teacher before you continue — do not force a bad cut into a cork.
- Fire-polish each cut end: rotate the rim in the outer (cooler) part of the Bunsen flame until the sharp edge just rounds. Do not heat the whole tube red-hot.Safety: Hot glass looks cold. Cool on the tile before handling.
Observation table
Enter the readings from your school lab in the practical file below. This page does not fill them in for you.
Calculation
No calculation. Record length and a short note on edge quality.
Result
State the length you cut and whether both ends were fire-polished satisfactorily under your teacher’s criteria.
Precautions
- Make one firm score — repeated scratching weakens unpredictably.
- Snap away from your face and neighbours.
- Fire-polish only the rim; do not heat a long band unless bending is intended.
- Dispose of glass scraps in the broken-glass container your school provides.
Viva questions
Answer one question at a time. The full answers stay closed until you open them.
Question 1 of 4
Why fire-polish a freshly cut glass tube?
Pick an answer first.
Show all questions and answers
Why fire-polish a freshly cut glass tube?
Answer: To round sharp edges so it is safer and fits apparatus. Reason: Cut ends are sharp; brief heating rounds the rim.
A single score line is preferred because…
Answer: Multiple scratches scatter stress and give a ragged break. Reason: One clean score localises the snap.
While fire-polishing you should mainly…
Answer: Rotate the cut end in the flame until the rim softens slightly. Reason: Even rim heating avoids sealing or bulging.
Broken glass in the laboratory should go…
Answer: Into the designated broken-glass bin. Reason: Sharps must not go into ordinary waste or drains.
Common mistakes
- Sawing back and forth instead of one clean score.
- Fire-polishing until the bore closes.
- Forcing a jagged tube into a cork and breaking the cork or cutting your hand.
- Quenching hot glass in water unless your teacher explicitly allows it.
Frequently asked questions
- Can I do this at home?
- No. Use this page to practise the order of steps and viva. Do the real experiment only in your school laboratory, with your teacher present.
Your practical file
Name, school, and roll number are optional and are not sent anywhere.
The practical file opens on this device.
Review
Not yet reviewed by a named chemistry reviewer. Published for practice only — follow your teacher and laboratory manual for quantities and safety.
Related practicals
- Electron shells and quantum numbers
- Preparing a molar solution
- Periodic trends comparison
- Displacement redox reaction
- Enthalpy of neutralisation
- Detection of functional groups
- Tests for unsaturation
- Bending a glass tube
- Drawing a glass jet
- Boring a cork
- Determination of melting point
- Determination of boiling point
- Purification by crystallisation
- Determination of pH of solutions
- Effect of common ion on pH
- Shift in chemical equilibrium
- Standard oxalic acid solution
- Titration of NaOH with oxalic acid
- Standard sodium carbonate solution
- Titration of HCl with sodium carbonate
- Qualitative salt analysis (one cation, one anion)
- Detection of N, S and halogen (Lassaigne)