
CBSE Class 11 chemistry · basic laboratory techniques · Basic laboratory techniques
Source: CBSE Class 11 chemistry practical syllabus · use your school laboratory manual (NCERT Lab Manual where your school uses it).
Boring a cork (Class 11 chemistry practical)
You practise boring a soft laboratory cork so glass tubing or a thermometer passes through with an airtight fit.
Borer size and number of holes follow your manual.
Published practice page. Concentrations, masses, and numerical answers come from your school laboratory manual and your own readings — not invented here. Not yet reviewed by a named chemistry reviewer. Version 1.0.0, updated 2026-10-03.
Safety — read before you start
Safety warning. Practise here. Perform the real experiment only in your school lab, with your teacher present.
- Sharp borer — puncture wounds.
- Glass cuts.
- No chemical hazard from cork itself.
Wear: Lab coat, Splash goggles, Gloves, as your teacher directs.
Follow your teacher’s disposal instructions. Do not pour leftovers down a household drain.
Loads only after you tap. Use the lab hands to pick up and use equipment (pointer hidden in the scene). Falls back to a flat diagram if WebGL is unavailable.
Aim
To bore a hole in a laboratory cork of the correct diameter for glass tubing or a thermometer, and fit the tube safely, as described in your laboratory manual.
Methods and quantities can differ between schools. Follow your teacher's instructions.
Apparatus and chemicals
| Item | Note |
|---|---|
| Soft laboratory cork | Size as per manual. |
| Cork borer set | Choose the borer slightly smaller than the tube OD; ream if needed. |
| Glass tube or thermometer | For test fit after boring. |
| Glycerine or soap solution (if used) | Only if your teacher allows lubrication for insertion. |
| Press or wooden block | Some manuals bore cork on a flat block. |
| Cork (plant material) (cork) | Not a chemical reagent — handle borers and glass carefully. |
Theory and reaction
Open
An airtight seal around a delivery tube depends on a snug hole without splits radiating to the edge of the cork.
Boring removes a plug of cork in one motion when the borer is sharp and pressed straight.
Glass should be rotated gently when pushed through — never forced dry through a too-small hole.
No chemical equation.
Picture guide
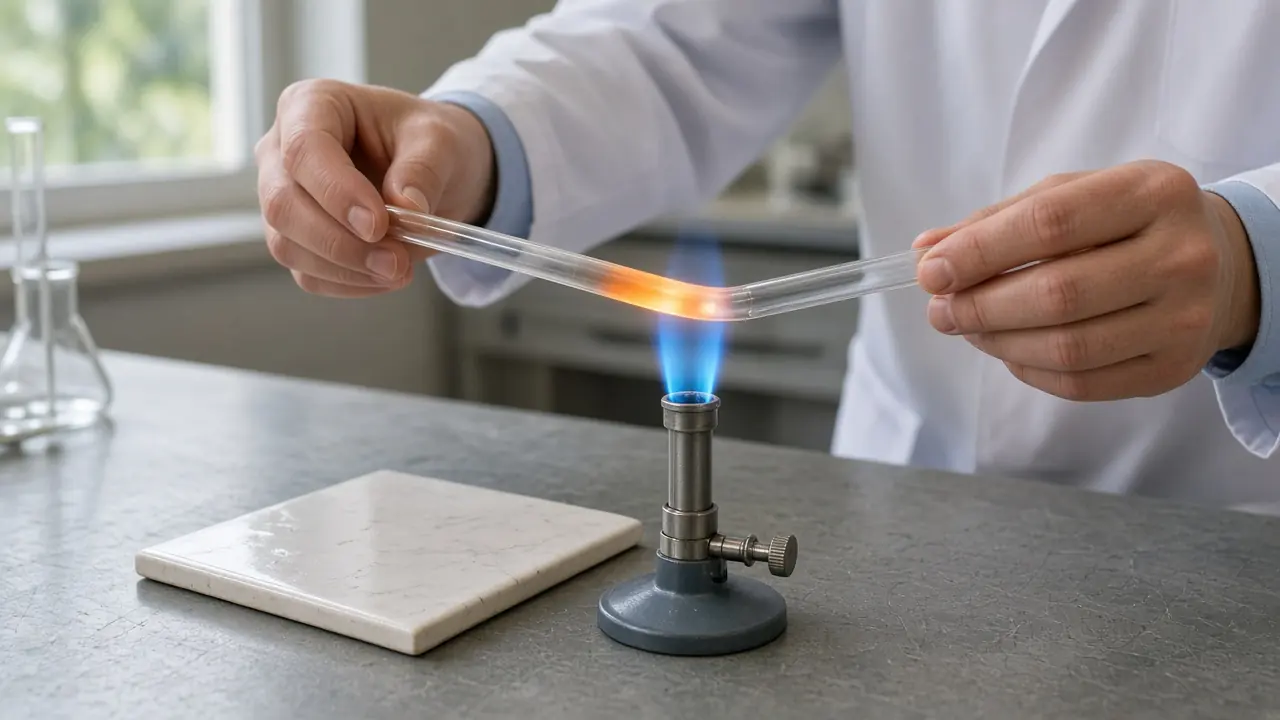
Procedure
- Select cork and borer diameter matching the glass outer diameter your manual lists.
- Mark the centre of the cork face. Press the borer straight in, twisting slightly as your teacher shows.
- Push through until the plug is cut free. Remove the plug from the borer.
- Bevel or slightly ream the hole if your manual asks — for thermometer bulbs or angled seals.
- Insert glass with gentle rotation and lubricant only if permitted. Hold glass near the cork, not far out on a long lever.Safety: Broken glass cuts; wear goggles.
Observation table
Enter the readings from your school lab in the practical file below. This page does not fill them in for you.
Calculation
No calculation.
Result
Record borer size and whether the cork accepts the glass with a snug seal and no radial cracks.
Precautions
- Keep fingers behind the borer tip.
- Bore straight — angled holes weaken the cork.
- Never pull glass out by the far end if stuck; ask your teacher.
- Discard corks with radial cracks.
Viva questions
Answer one question at a time. The full answers stay closed until you open them.
Question 1 of 4
Why choose a borer slightly smaller than the glass outer diameter?
Pick an answer first.
Show all questions and answers
Why choose a borer slightly smaller than the glass outer diameter?
Answer: So the cork compresses slightly for a tighter seal. Reason: Slight compression improves the seal.
Radial cracks in a cork mean…
Answer: The cork may leak and should not be used. Reason: Cracks break the airtight seal.
When inserting glass through cork you should…
Answer: Hold glass close to the cork and rotate gently. Reason: Short lever and rotation reduce breakage.
A bored cork is used mainly to…
Answer: Pass glass tubing or thermometers through a flask neck with a seal. Reason: Corks seal simple flask setups.
Common mistakes
- Using a borer much larger than the tube → leaks.
- Forcing dry glass → broken tube and cuts.
- Boring too close to the cork edge → splits.
Frequently asked questions
- Can I do this at home?
- No. Use this page to practise the order of steps and viva. Do the real experiment only in your school laboratory, with your teacher present.
Your practical file
Name, school, and roll number are optional and are not sent anywhere.
The practical file opens on this device.
Review
Not yet reviewed by a named chemistry reviewer. Published for practice only — follow your teacher and laboratory manual for quantities and safety.
Related practicals
- Electron shells and quantum numbers
- Preparing a molar solution
- Periodic trends comparison
- Displacement redox reaction
- Enthalpy of neutralisation
- Detection of functional groups
- Tests for unsaturation
- Bending a glass tube
- Cutting a glass tube
- Drawing a glass jet
- Determination of melting point
- Determination of boiling point
- Purification by crystallisation
- Determination of pH of solutions
- Effect of common ion on pH
- Shift in chemical equilibrium
- Standard oxalic acid solution
- Titration of NaOH with oxalic acid
- Standard sodium carbonate solution
- Titration of HCl with sodium carbonate
- Qualitative salt analysis (one cation, one anion)
- Detection of N, S and halogen (Lassaigne)